Acquiring ACT File
As of May 2020 ACT has stopped providing districts with student assessment results via CD and has switched over to their new online ‘ACT Success’ reporting tool. This is the link to the reporting tool portal. success.act.org/s
Step 1
Log into your ACT Success system with your username and password

Step 2
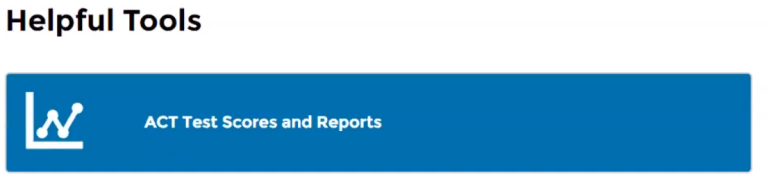
Under the Helpful Tools section, click on the blue button titled ACT Test Scores and Reports
Step 2.1 Select the ‘Student Scores (District) Roster View option
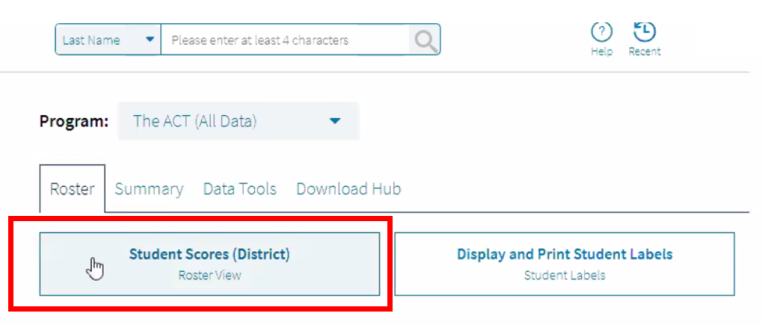
Step 2.2 Under the Roster tab select the year you wish to download and select the DISTRICT only. Do not select individual campuses. Then click the ‘Get Report’ button to run the report.

Building your ACT file
Now that you are in the ACT system you will need to build the file for import into OnDataSuite
Step 3
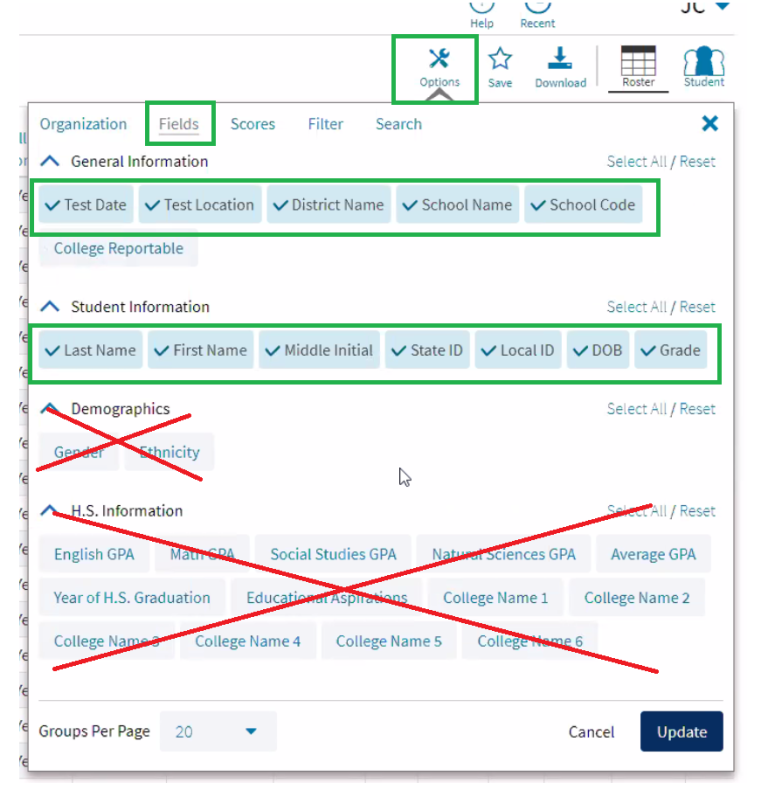
Click on the Options link at the top of the menu and then click on the Fields label and select ONLY the following fields:
General Information
Test Date, Test Location, District Name, School Name, School Code
Student Information
Last Name, First Name, Middle Initial, State ID, Local ID, DOB, Grade
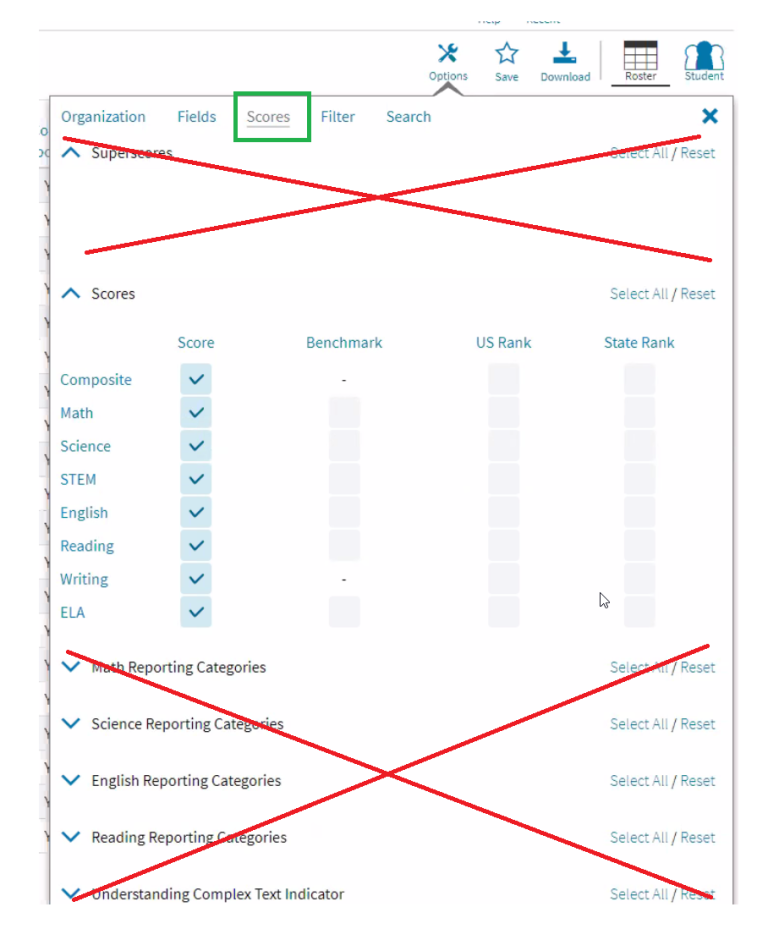
Continue within the Options menu and click the Scores label and select ONLY the following scores fields:
Scores
Composite, Math, Science, STEM, English, Reading, Writing, ELA
Step 4
Click the Update button at the bottom of the window to create the report and review it on your screen.
Step 5
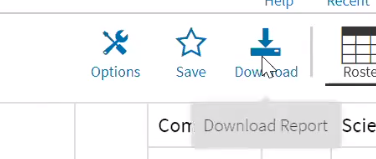
Download the report and save it by clicking on the Download button in your menu
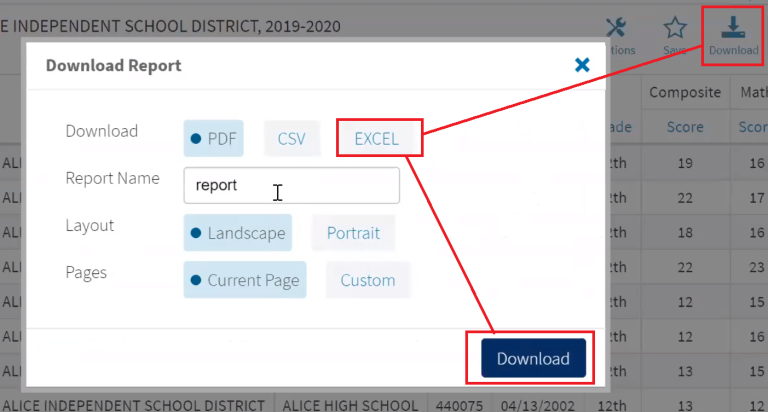
Once you have clicked on the Download button a pop up window will open. You must select EXCEL, then enter a Report Name, and then click the download button. You do not have to select Layout or Pages options.
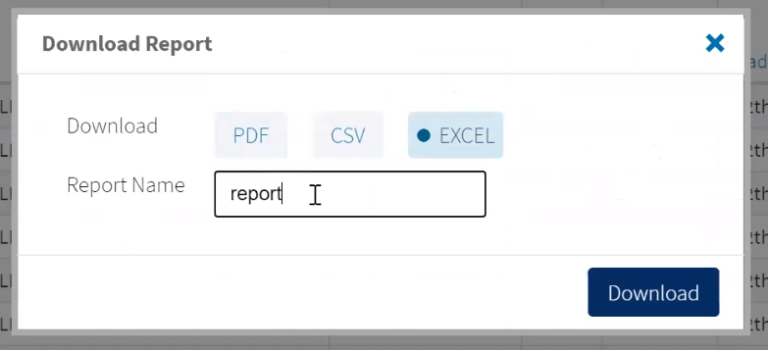
After the EXCEL option has been selected a new window will pop up. Make sure that your select EXCEL and if you did not give your report a title, you may do it here.
Step 6
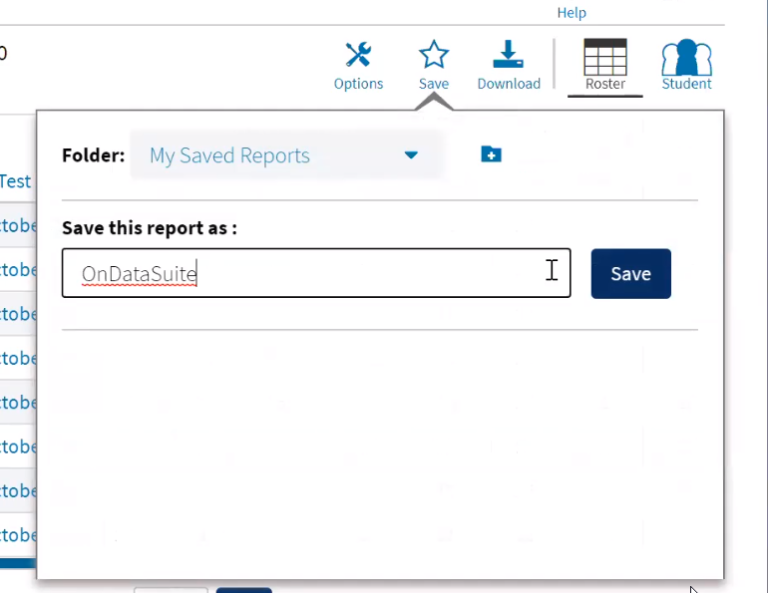
After you have built your report, there is an option to save your report by clicking the Save link in your options menu. Click on the Save button and give your report a name like in the example below.
Once you click the Save button you should see your report listed below.
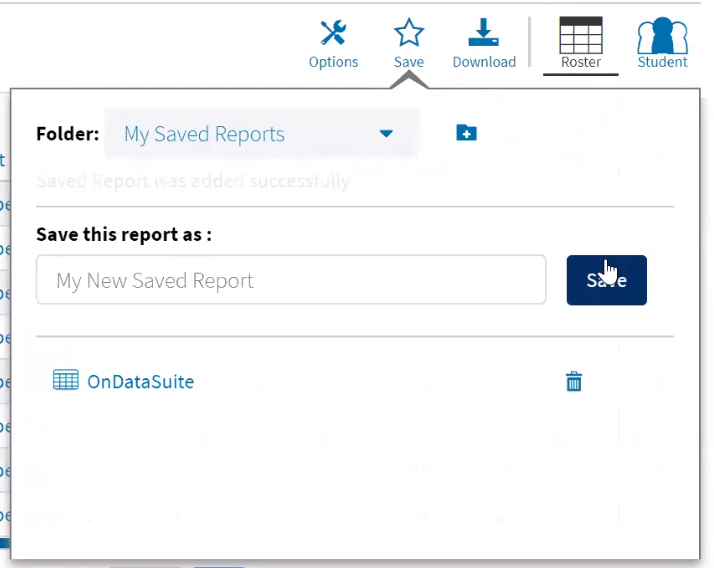
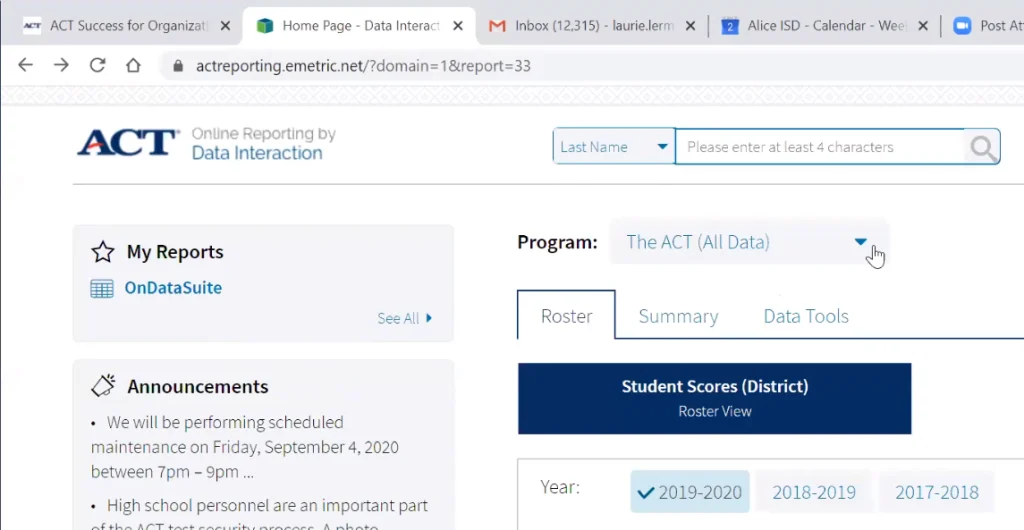
Note: The next time you log into your ACT account you should now see your report listed under your ‘My Reports’ section.
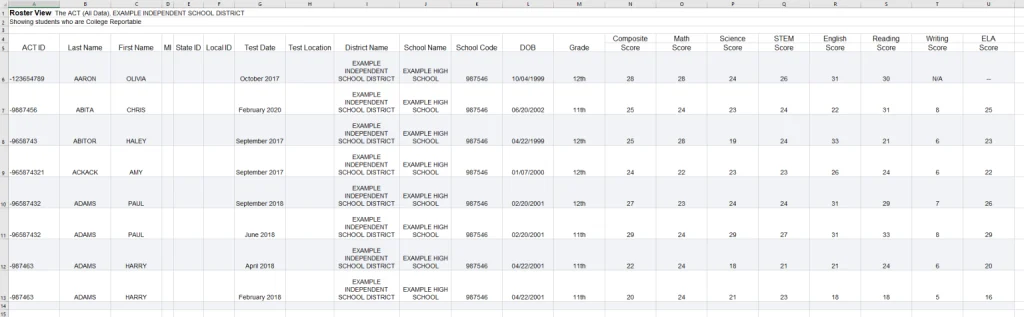
ACT to OnDataSuite Accepted Field Layout
For ACT files created using the ACT Success reporting tool, OnDataSuite will accept an Excel (.xlsx) data file formatted as listed below.
The files column values MUST be exactly in the order as shown below and the Column Header names must be exactly the same as listed below.
- Accepted File Type: Excel (.XLSX)
- Parser starts parsing from row 6 so the 6th row should be the first row with data in the excel file. Do not attempt to ‘clean up’ file. Leave As-Is.
- The order of the columns is very important.
- Format on DOB and the TEST DATE is important. Must match what is in the attached file
- If it can not match a student via the ID columns in the file, it will look for an exact match on first name + last name + dob combo.
Excel Column | Column Header | – Special Notes
Column A | ACT ID
Column B | Last Name
Column C | First Name
Column D | MI
Column E | State ID
Column F | Local ID
Column G | Test Date |- Do not format as a date. Leave as is. (Example October 2017)
Column H | Test Location
Column I | District Name
Column J | School Name
Column K | School Code
Column L | DOB | – Must be formatted as MM/DD/YYYY
Column M | Grade
Column N | Composite Score
Column O | Math Score
Column P | Science Score
Column Q | STEM Score
Column R | English Score
Column S | Reading Score
Column T | Writing Score
Column U | ELA Score
Example of complete exported file