How to generate (Multi-Card | Multi-Student) printable cards for State Assessments (STAAR 3-8, STAAR EOC, TELPAS)
What does the printable card option do?
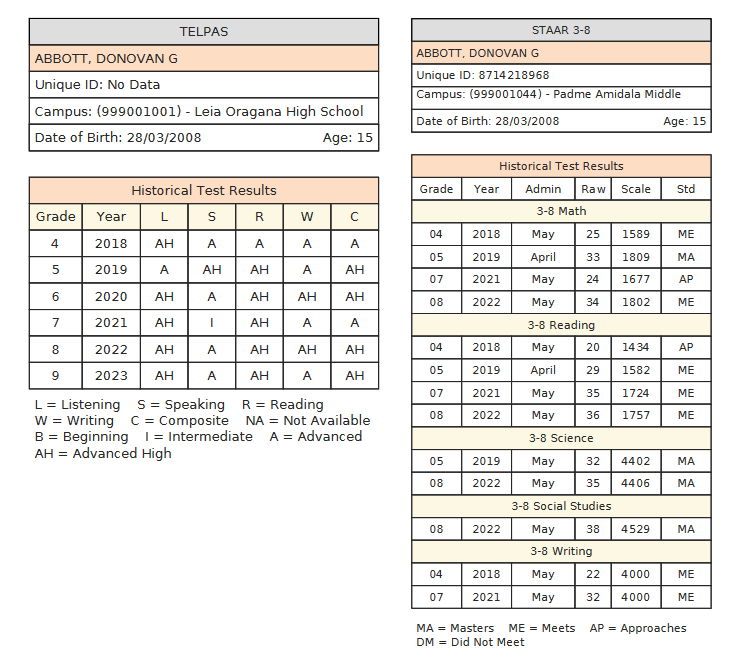
The printable card option allows users to generate printable cards that display a historical view of found student state assessment scores (STAAR 3-8, STAAR EOC, TELPAS) from any generated list using the tools / printable cards option.
Note: The process outlined below details the steps used to generate Multi-Student printable cards meaning the PDF output will display several students per page. Users wishing to print only one card per student will need to do this from within the student dashboard. For details on how to do this please review the following associated KB article: https://kb.ondatasuite.com/knowledge-base/student-profile-dashboard/
The following steps below outline the process of generating multiple printable cards from any returned list view in OnDataSuite.
Step 1. Get to a list view.
The user must always be in a ‘LIST’ view in order to view the Printable Cards option. This means that an aggregate total must be clicked on to drill down to the student LIST view and it must be on the screen. Anytime a user clicks on any aggregate total it will take them to a LIST view.
Example
In the example below, we will query the TELPAS file to find all 2023 TELPAS tested students. From the Assessment > TELPAS section, select the ‘Admin and Student Demographic’ table from the TELPAS Report Center options and select a filter for the year 2023, then generate the report using the green button to get to your aggregate total. This total would represent every student that tested in TELPAS for the 2023 year.

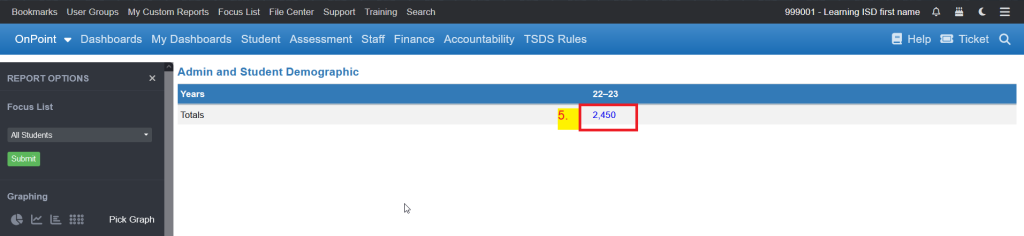
Step 2. Click on the aggregate total
Example
Click on the ‘aggregate’ total returned from your query to drill down to the LIST view
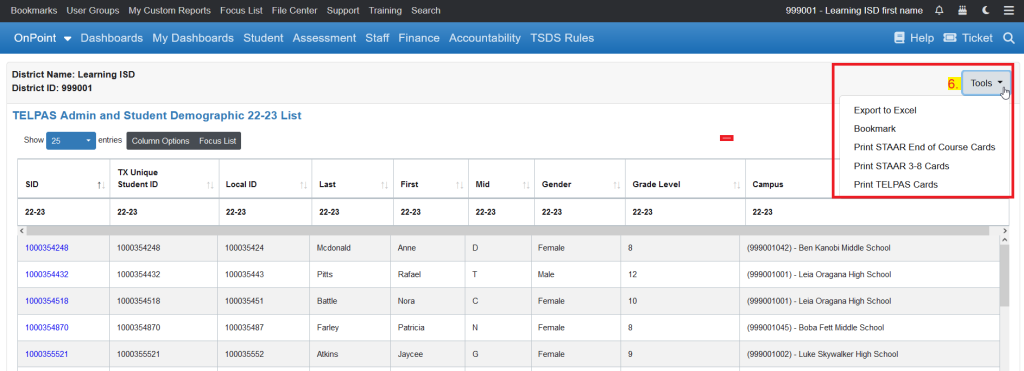
Step 3. While in LIST view use the ‘Tools’ menu dropdown to select the printable card of your choice.
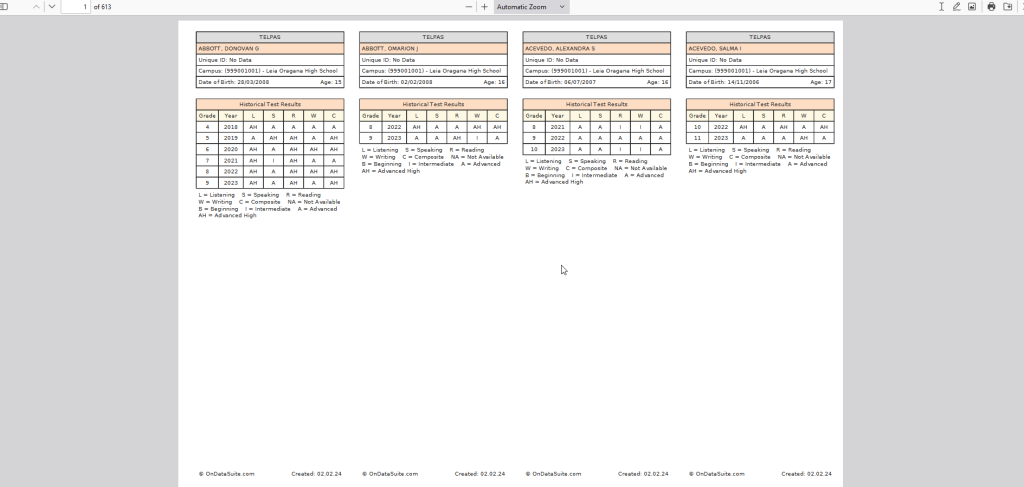
Step 4. Save your PDF download and/or print your TELPAS cards
The following steps below outline the process of generating individual printable cards from within the student dashboard in OnDataSuite.
Printable cards specific to an individual student can be created from within the student profile dashboard.
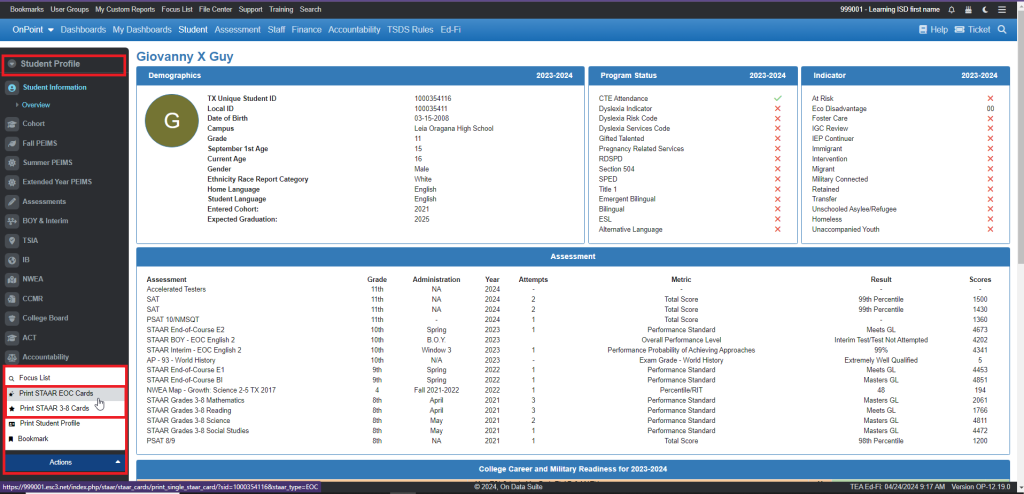
Step 1. Drill down to the student dashboard level
You can get to the student dashboard level by clicking on any student ID. The student dashboard provides a granular view of all of the students information and you will see a black sidebar menu on the left hand side.
Step 2. Click on the Actions button and select the printable card type
Click on the ‘Actions’ button located at the bottom of the black sidebar menu and select the printable card you wish to print.
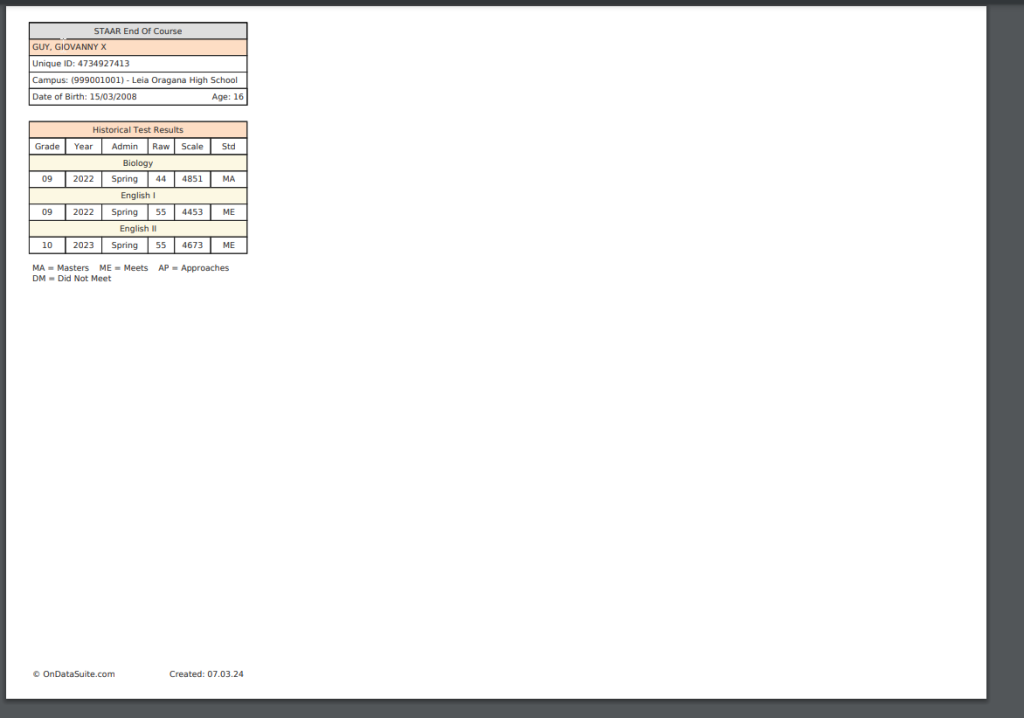
Step 3. Save or print
A preview window will pop up in a new browser window and you may now save the document as a PDF to be printed later or you can choose to print.
Suggested perforated paper types
For best results districts can use the following perforated paper
Printable card layout is designed to print to the following perforated paper requirements: 8.5×11 – 4-up micro perforated paper 2 3/4″, 5 1/2 and 8 1/4″
Example: Amazon.com link
Please note: This is an unaffiliated outside link and is being provided for demonstrational purposes only