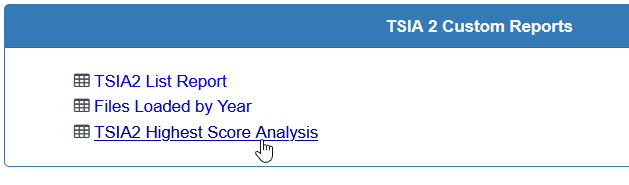
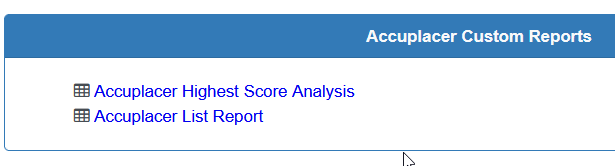
Districts can check for errors in uploaded Accuplacer and TSIA2 files by going into the custom report section of each file type and running the ‘Highest Score Analysis’ report.
These files both feed into the CCMR EWS reporting tool and data that has been loaded incorrectly can and will affect CCMR EWS calculations as well as A-F predicted results.
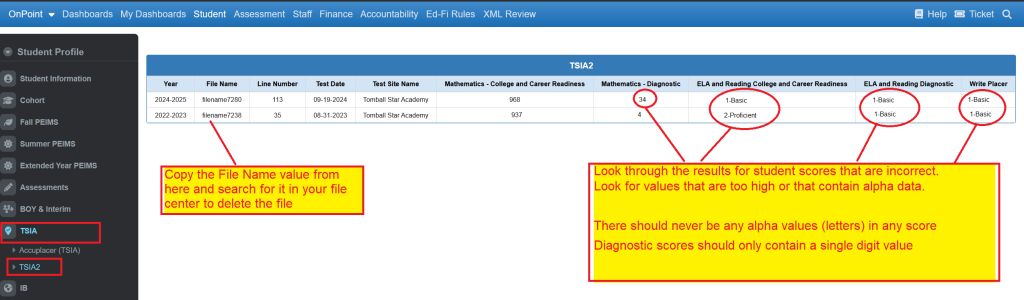
Errors to look for include anything greater than a single digit value in any Diagnostic score as well as any alpha (text) value in any score value.
Instructions on how to find and remove corrupt or invalid files are shown below. It is recommended that you follow the steps outlined below one student at a time and then repeat the process after each file deletion as several errors may be associated to a few error files.
Step 1. Checking files for issues
Checking files for issues – Step 1-1
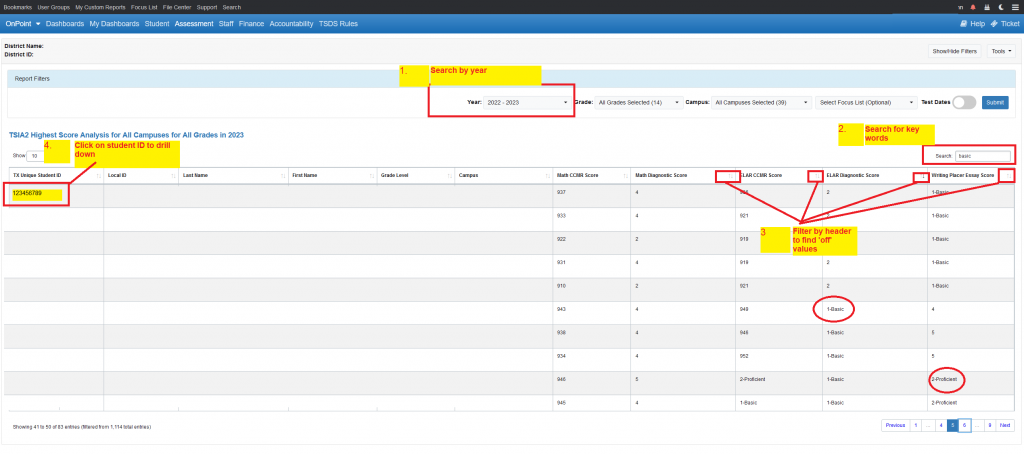
Start by selecting one of the Highest Score Analysis reports and search by year only so that your search yields all files loaded within a date range.
Checking files for issues – Step 1-2
Use the ‘search’ box in the returned list to search for an alpha value. Example: ‘basic’
Checking files for issues – Step 1-3
Click on the header row of columns to filter values to top of list
Checking files for issues – Step 1-4
Click on the first student link on the list to drill down to the student dashboard level
Step 2. Locating specific uploaded file that contains the issue
Drilling down to student file – Step 2-1
After selecting a student from the report list, you will need to click on the Assessment link in the right hand corner of the student dashboard menu items and then select either Accuplacer or TSIA2 to search for the file with the error in it.
Drilling down to student file – Step 2-2
When you locate the file that is displaying the error, highlight and copy the file name associated with the incorrect data that is located in the right hand corner just above the results. This is the file name that was uploaded into your file center that contains errors.
Step 3. Removing corrupt or invalid file from file center
Finding and removing from file center – Step 1
Go to your file center and click on the file center location that contains the file with errors. You can use the web browsers search function { Ctrl+F } to find it or you can search for it manually by scrolling through the listed files.
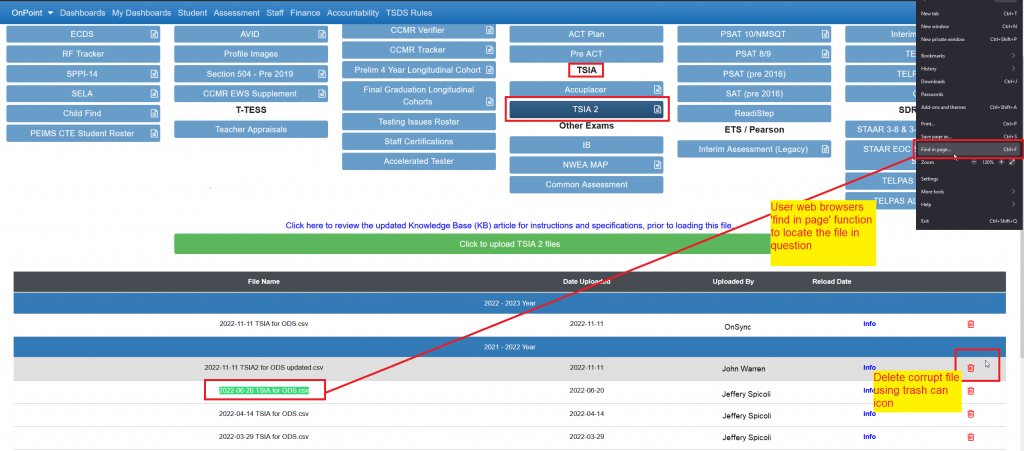
Finding and removing from file center – Step 2
You can remove the file by clicking on the trash can icon associated with the file row. If you are not a system administrator or you did not load the file, you may have to find a local system administrator to remove the file for you.
Repeat the process
After removing the first file it is recommended that you repeat this process starting with Step 1-1. Several student errors associated with the files you remove will no longer show up on the list as you go through each pass.