- Associated Instructional Materials:
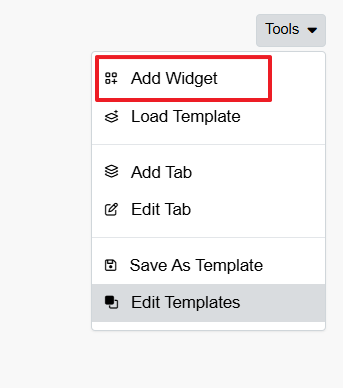
Users can go to my dashboards and the tools section to add widgets
Tip – Add Tabs first to organize the MyDashboards
To add a Widget, go to the tools section and select add widget
Widget Options
- Category
- Widget
- Campus – Default is All Campuses
- Year – Default is the Latest Year

MyDashboard Widgets can now be color-coded and have their own color palette.
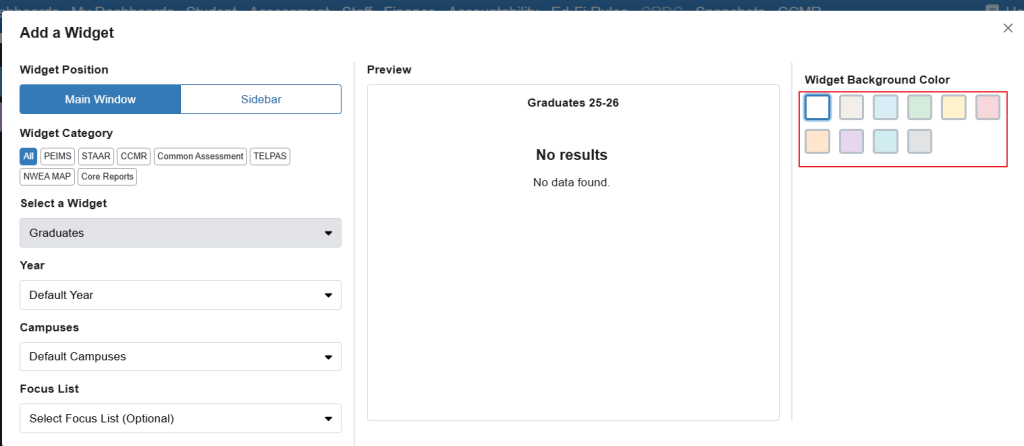
To make the Widgets even more personalized, you can choose your own palette of colors.
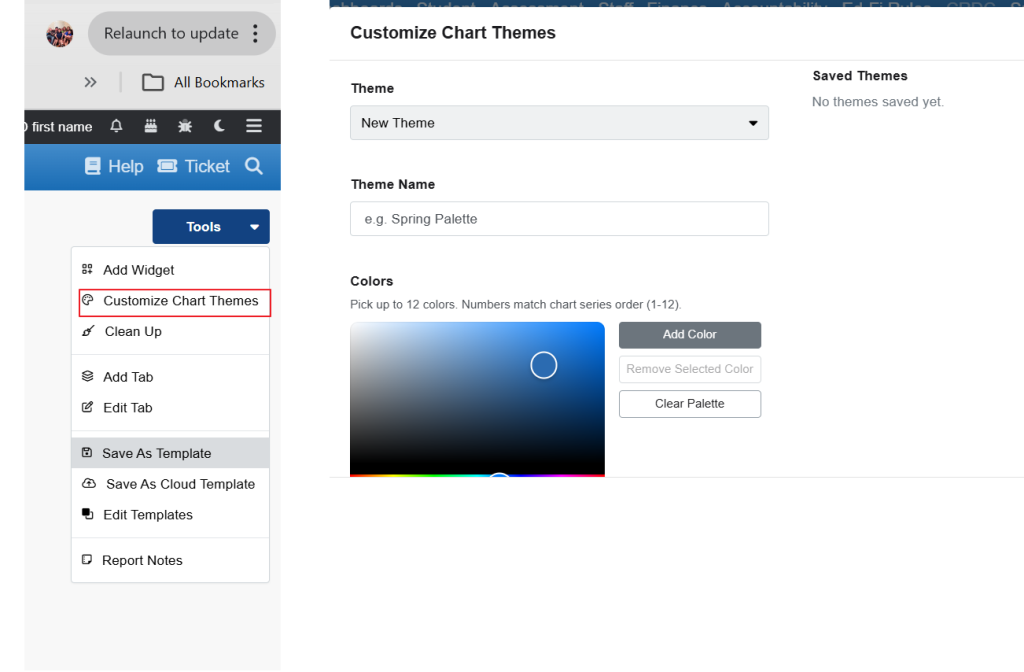
Suggested use: color-code all your disciplines, attendance, and CCMR widgets when creating your dashboard.
- Once a dashboard widget has been added, click inside the widget to navigate to the associated reporting section of OnDataSuite.
- Multiple widgets can be added and moved, stretched, and more by clicking and dragging.
- To make changes to an added widget (theme, campus, year options), click on the gears icon.
- To remove a widget, click on the trashcan icon.
- After adding many widgets, click Clean Up to clean up the My Dashboards page.
Export and Copy Features
Widgets can now be exported to .png

Widgets can be duplicated to the same or different tabs by using the copy button, which then pops up a window for you to decide where to duplicate.
