- Associated Instructional Materials
- Video: How to Modify User Accounts
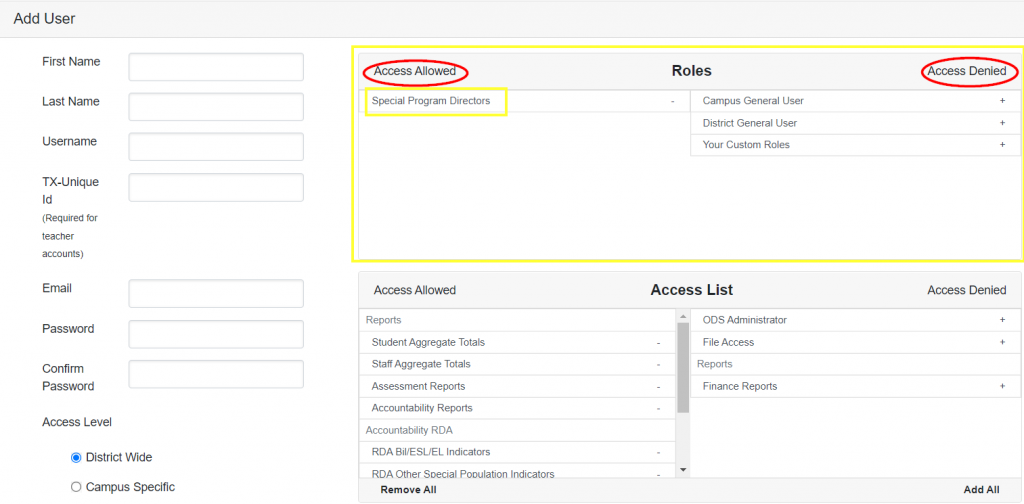
This screen allows you to build an access template based on user roles that can be applied on the Add User page.

To Add a Role
- Click + Add Role and choose a Role Name
- Click Create

- Choose the appropriate Access Levels, Access List items, Campuses, and Restricted Areas items and click Save.
- Note: If creating a Campus Specific role, you can leave the Campuses section with no campuses and assign the appropriate campus once you go to the Add User screen.

- At this point, you can go to the Add User screen to assign the role created.

Note: If a user is assigned multiple roles, the highest level of access will be authorized. For example, if they are given a role of campus level user and another role of district level user, the district level user will be utilized.
To Change a Role
- Simply select the Role that needs to be modified, make the appropriate changes to the Access Level, and click Save.
To Delete a Role
- Select the Role and click Delete

- Click Yes to delete or No to cancel

