Your OnDataSuite data warehouse requires that you upload files into the system. You can access this upload area in the system by clicking on the File Center link located in the top black menu bar. This section of the manual describes the process of how to upload your files as well as the file requirements for each destination folder for each Data Source.
Locating the File Center
Users may enter the file center upload page by clicking on the “File Center” link located in the black menu bar at the top of the screen.

How to upload a file into Data Center
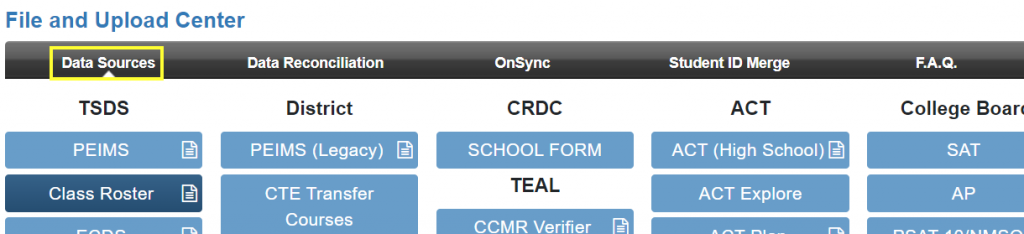
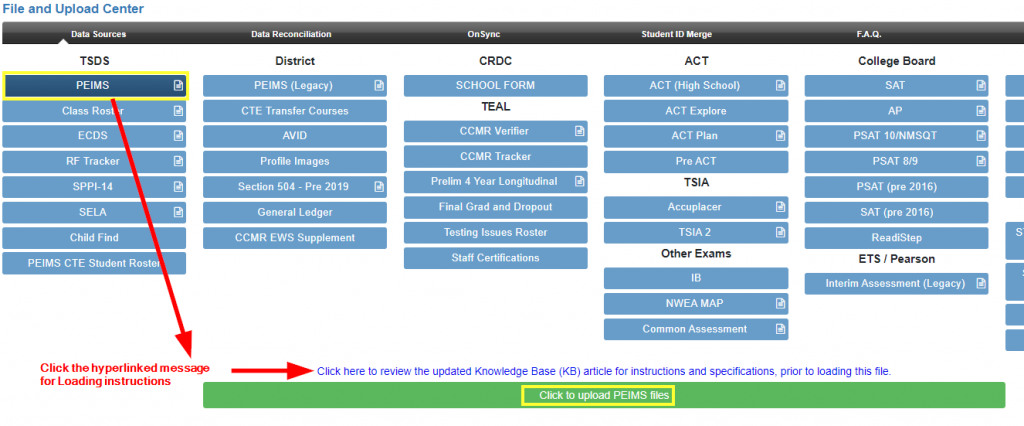
To upload a file into the File Center begin by selecting the ‘Data Sources’ link located in the black sub-menu on the File Center screen.
Data file types accepted
OnDataSuite uploads require that the uploaded data be formatted to each specific Data Source requirement.
Please reference the “Loading” data files knowledge base sections to determine the proper placement and file type of your data file upload.
Select your destination folder
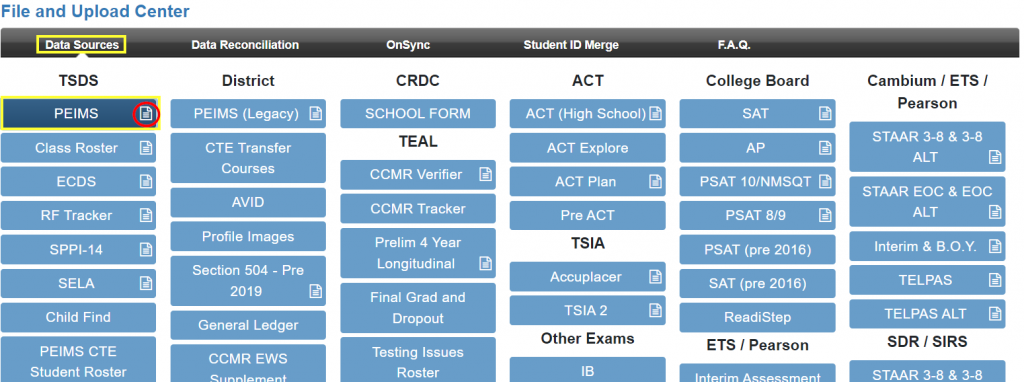
Click on the blue menu button that describes where your destination file will reside. Menu buttons are displayed under categories for easier identification (i.e. TSDS, District, TEAL, etc.). Buttons with a white paper icon have files loaded in that area; those that do not have no files loaded.
Upload your file
Once you have selected your destination folder, a “Click here to review” message (hyperlinked to the Knowledge Base with specifics regarding that specific file upload) and a green “Upload” button will appear below the blue menu buttons.
Recommendation: take time to click the hyperlink and review the notes to ensure that the file is in the correct format so that it may be received by the file center.
Click on the green “Upload” button to search for your file on your local system.
Selecting your file
Click once on your selected file and then click on the ‘Open’ button in the dialog box.
Note: If you do not see your file, please verify that the “All Files” option is selected within your dialog box as shown in the example below.

Complete the upload process
After you have selected your file for upload, you may choose to cancel this process at this time by clicking the orange “Cancel Upload” button while you prepare your file for upload.
Some files require the user to input additional information about the file PRIOR to uploading. If this is the case with your file, you will see a dialog box with drop down menu items or check boxes that must be filled out. Make sure to fill out all required open field items before you begin the upload process.
If you are sure that your file is ready for the upload, click on the green “Start Upload” button to complete the process. Processing time is dependent on the size and type of file loading. Some files, for example the PEIMS TSDS files, are populating quite a bit of information into the database and could take some time to process.

Upload Confirmation
During the upload, you will see the various stages the file is processing through (i.e. Populating fall dashboard, Updating STAAR EOC information, Updating PBMAS). Once all queued files have completed loading successfully, the page will refresh, and the files will display in the history area below.

Upload Error
If there has been an error in your upload, the progress bar will turn red and you will receive a red error message. If this is the case, please revisit the requirements of the file that you are trying to upload into the system.
There are some instances where the file completes the processes but fails while parsing the data. In these cases, the file will appear in the history area below shaded in red. A ticket will need to be submitted for further assistance.
Uploaded By
There are some instances where ODS staff must manually reload a particular file. In these cases, the Uploaded By column will display “ODS Admin”. An example might be testing files loaded to the wrong content area that we manually process to the correct spot.
Info (Edits, Data)
The Info button (far right) opens a detail display directly below the file in the list. Information displayed will vary with the file type. Reference the specific file type loading section of the manual for details on the information and sections displayed. All file Info displays will contain an “Event Viewer” section listing specific processes and file upload processing time and an “Edit file name section”.

File Delete

- See the kb article: File Delete
Successful file uploads will generate an email notification to the user loading the file. For details reference KB article: File Center Email Notifications