- Associated Instructional Materials:
- Video: How To Make a Focus List
Focus lists can also be created by uploading a comma separated value file that contains only one column used to associate the uploaded file back to the PEIMS files on record for your district. This file can contain staff or student values using any of the three following values listed below. This should not be a combination of these values however. It needs to be the same value throughout. For example: You would not have some TX Unique ID and then some Local ID’s.
TX Unique ID
Local ID
Social Security No.
Important notes about focus list creation
- Users must have access to student and/or staff details to use focus lists.
- Focus Lists are static the moment they are created (new files do not update focus lists).
- Focus lists must be recreated or “added to” to include new/additional names.
- Pop-ups must be allowed from this screen.
Where to upload your CSV file
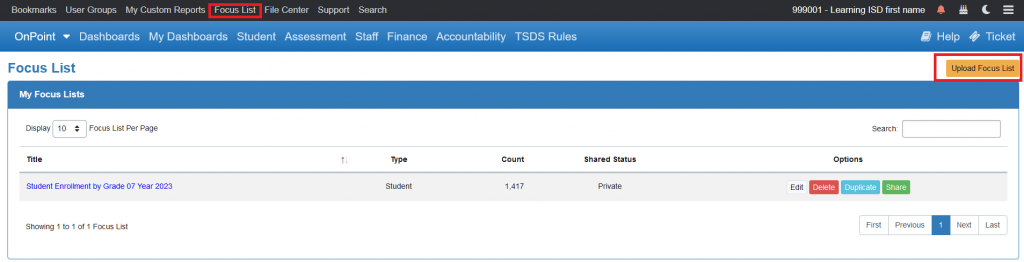
To upload your file, begin by clicking on the Focus List button at the top of the page and then click on the orange ‘Upload Focus List’ button.
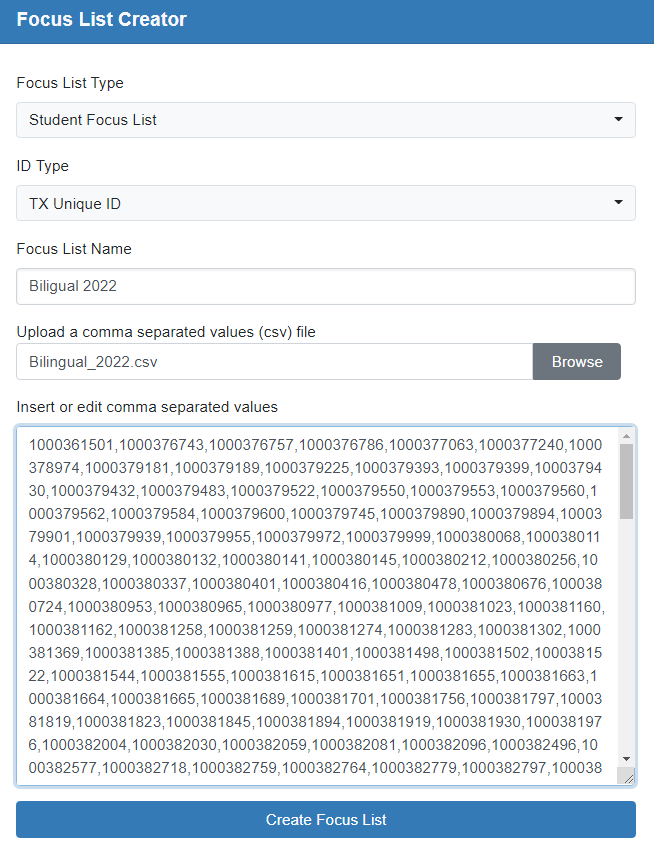
After you click on the button you will be taken to the ‘Focus List Creator’ page. Your options are as follows:
Focus List Type
Student Focus List
Staff Focus List
ID Type
TX Unique ID
Local ID’s
Social Security No.
Focus List Name
Open field – Give your focus list a meaningful/detailed title
Uploading a Comma Separated Value (CSV) file
You must browse to the local location on your system that is holding this file.
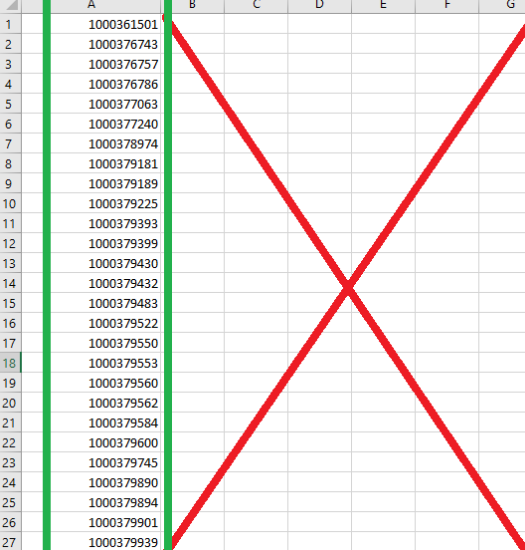
- The file you upload MUST be formatted as a CSV and should only contain 1 column with all the IDs listed in the rows below.
- The one column does not need a header.
- Remember that your values must all be the same and it cannot be a combination of ID values.
- You should not have any other columns to the right of column A filled in.
Insert or edit comma separated values.
Once you have uploaded the file you will see the large open box displaying all of the values from your associated file. You can use this opportunity to spot check and remove any thing that may not be valid such as a title header.
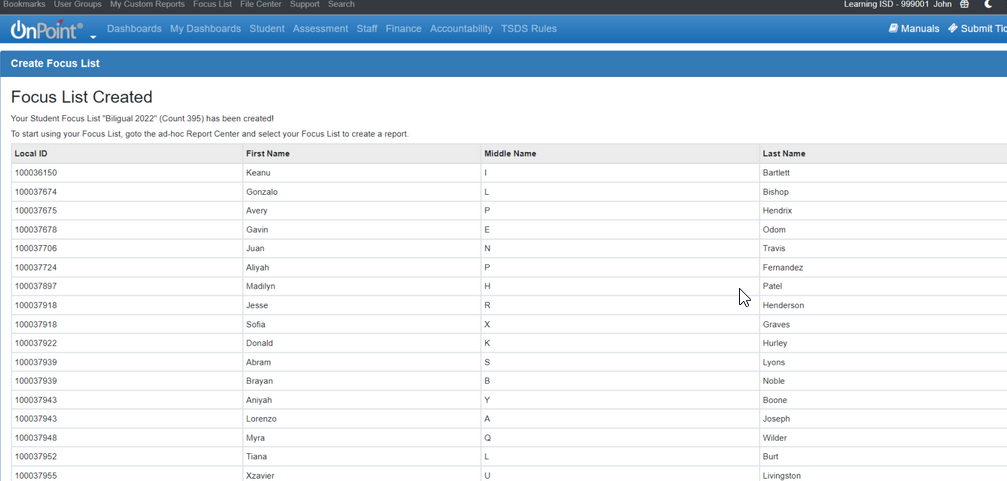
Confirmation Page
After you have clicked the ‘create focus list’ button your associated file will attempt to match all of the ID’s in your list with what is on file within your PEIMS / OnDataSuite account.
It will then display a list of the created focus list. If there were any that did not find a match it will also display this. If this happens you will need to review the IDs you provided in your list manually against what you have in your OnDataSuite account to determine where the issue is. Some examples of why this might occur would be if the ID is off by a number or if the student has withdrawn.